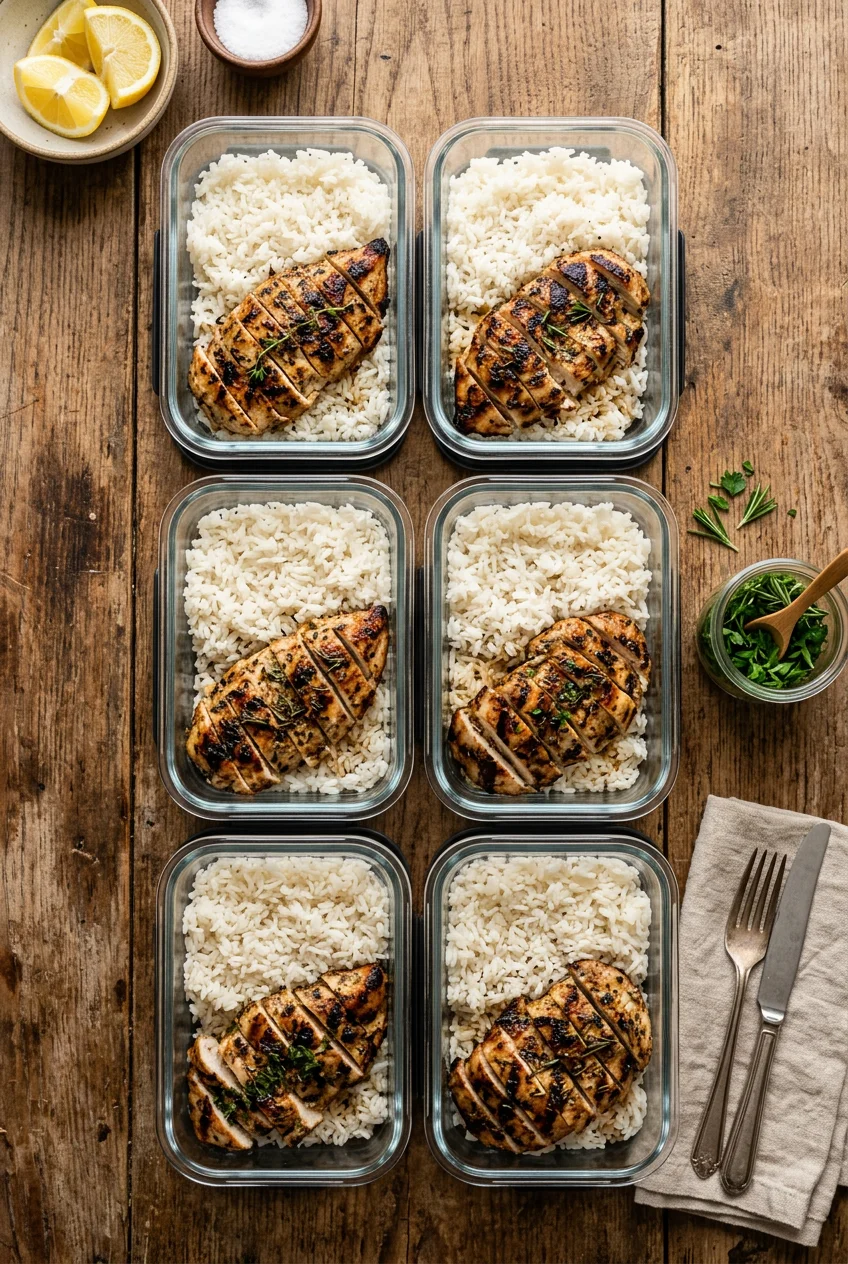
What’s Inside
- Choose The Right Cut For Reheating Meal Prep Chicken And Rice
- Master Your Rice Texture So It Doesn’t Turn To Mush
- The Dry Brine Method For Meal Prep Chicken And Rice
- Cool Your Rice Quickly To Stop Bacterial Growth
- The Instant Pot Dump-And-Go Strategy
- Air Frying For Crispy Edges Without The Splatter
- Pre-Made Seasoning Blends Save Twenty Minutes
- The 333 Method Prevents Mid-Week Boredom
- Ditch The Plastic For Glass Storage Containers
Last November, I sat in the breakroom, staring at a container of meal prep chicken and rice that looked like gray rubber on wet cement. I poked the chicken with my plastic fork. It squeaked. The rice hadn’t just clumped; it had congealed into a solid, immovable brick shaped exactly like the container. That was the moment I realized my strategy was broken. I tossed the whole thing in the trash and walked three blocks in the rain to buy a $14 kale salad at Whole Foods. I spent months making these dry, sad lunches before figuring out how to actually cook in bulk. I learned the hard way. Making food on Sunday that stays fresh by Thursday takes specific techniques, not just throwing meat in an oven and hoping for the best. I’m going to show you how I structure this process now. It’s methodical. It’s precise. It works every time. You won’t be chewing on chalky, stringy meat by Wednesday.
1. Choose The Right Cut For Reheating Meal Prep Chicken And Rice

Most beginners buy massive packs of chicken breasts because they think it’s the only healthy option. I did this for two years. I’d drive to Costco every Sunday for Kirkland Signature boneless skinless chicken breasts at $14.99. You get about 6 pounds in those pouches. I’d bake them whole. By Tuesday, that meat felt like a dry household sponge. The reason for dry chicken is using the wrong cut for the microwave. Boneless, skinless chicken thighs are better. Their higher fat content helps them stay moist in the fridge, and they reheat well without turning into leather.
If you’re stuck on lean breasts, you have to change how you prep them. As of March 2026, these average $4.17 to $4.70 per pound at most US stores. Don’t cook them whole. Use a sharp chef’s knife to cut them into 1-inch cubes. Or, place the breasts between parchment paper and pound them to an even 1/2-inch thickness with a meat mallet. This ensures consistent cooking. When you leave breasts thick in the middle and thin at the edges, the edges turn to jerky before the center is safe. I switched to the 1-inch cube method last year. It takes four extra minutes, but the smaller pieces cook evenly and soak up marinades fast.
2. Master Your Rice Texture So It Doesn’t Turn To Mush

Not all rice survives four days in a cold fridge. I learned this after pulling a container of short-grain sushi rice out on a Thursday. When I popped the lid, it smelled sour and looked like wet wallpaper paste. I had to scrape it out with a metal spoon. Long-grain white rice, like Jasmine or Basmati, stays fluffy. The grains separate well when reheated with a splash of water. Brown rice takes forty-five minutes to cook, but it keeps a chewy, firm texture all week.
Dietitians often suggest parboiled rice because it doesn’t clump. It stays distinct even after a trip through the office microwave. If you’re short on time, skip cooking raw grains. I keep microwave pouches in my pantry for Sunday emergencies. The Seeds of Change Organic Quinoa and Brown Rice pouches cost $2.98 for 8.5 oz at Target. Tear the top and microwave for 90 seconds. Minute Rice makes similar cups. I prefer cooking Jasmine rice from scratch, but that $2.98 pouch saves me when I miscalculate my portions. You won’t get mushy results if you pick a long-grain or parboiled variety.
3. The Dry Brine Method For Meal Prep Chicken And Rice

The main reason your chicken is dry is simple overcooking. I used to guess when my chicken was done by cutting into the largest piece to check the color. It’s a terrible method. You lose all the juices the second you slice it. You need a digital meat thermometer. I use a ThermoPro that cost $14.99 on Amazon. Probe the thickest part and cook until it hits exactly 165°F (74°C). Take it off the heat immediately. Not two minutes later. Immediately. You might also like: 9 Simple Meal Prep Worth Trying
There’s a secondary step that prevents moisture loss: dry brining. Last Tuesday at 10 PM, I forgot my marinade. Instead of panicking, I used a dry brine. Rub the raw chicken with 1/2 teaspoon of table salt or 1 teaspoon of kosher salt per pound. I use Morton Kosher Salt, which is $3.19 for a 3 lb box at Kroger. Place the salted pieces on a wire rack over a baking sheet and leave them uncovered in the fridge overnight. The salt draws moisture out, breaks down the muscle proteins, and the meat reabsorbs the salty liquid. When you cook it the next day, it stays juicy. Let the chicken rest on a cutting board for 5 to 10 minutes before slicing so the juices redistribute. You might also like: 15 Lovely Kids School Lunch Ideas That Changed Everything

Rubbermaid Brilliance Tritan Plastic Food Storage
Rubbermaid Brilliance Tritan Plastic Food Storage Containers BPA Free punches above its price — 583 buyers rated it 4.5 stars. I would buy it again.
4. Cool Your Rice Quickly To Stop Bacterial Growth

A common mistake is letting a pot of rice sit on the stove for hours. I used to leave my rice cooker on the counter from 2 PM until 6 PM. This is a food safety hazard. Uncooked rice contains spores of Bacillus cereus, a bacteria that survives boiling. If left at room temperature, these spores grow into bacteria that produce toxins. You have to cool your carbs fast. You might also like: 12 Meal Prep Snacks You Need to See
The best way to cool rice is to spread it out. As soon as it’s done, I dump the pot onto a Nordic Ware commercial half sheet pan. I bought mine for $17.99 at Target. I spread the rice into a thin, half-inch layer using a silicone spatula. This lets the heat escape fast. You want the batch cooled within two hours. Once it’s at room temperature, I put it into airtight glass containers. It stays safe in the fridge for 4 to 6 days. If I prep too much, I freeze portions in Ziploc freezer slider bags, which cost $5.49 at Walmart. They protect the grains from freezer burn for three months.
5. The Instant Pot Dump-And-Go Strategy

Cooking proteins and carbs in separate pans takes too much time and creates a mess. The Instant Pot cooks chicken and rice at the same time. It produces tender, shreddable meat and leaves you with only one pot to wash. I tried this wrong for three months before getting it right. I used to put chicken on the bottom and rice on top, which scorched the rice and triggered a burn warning. You have to layer it correctly.
Here is my Sunday formula. I place 3 pounds of 1-inch cubed chicken breast at the bottom. I sprinkle 2 teaspoons of onion powder, 2 teaspoons of garlic powder, and 1 teaspoon of kosher salt over the meat. Then I add 1.5 cups of rinsed Jasmine rice. You must rinse the starch off, or it turns into glue. I pour 1.5 cups of Kettle and Fire chicken bone broth over the top. It costs $7.99 for a 16.9 oz carton at Sprouts and adds protein. Seal the lid and cook on high pressure for 4 minutes. Let it sit for a 10-minute natural release. If you’re using chicken thighs and brown rice, increase the time to 22 minutes.
6. Air Frying For Crispy Edges Without The Splatter

Pan-frying chicken in a skillet creates a greasy mess. I hate wiping oil splatter off my subway tile backsplash. An air fryer solves this. It cooks juicy chicken with crispy edges in under 20 minutes. The circulating air creates a roasted texture you can’t get in an oven.
I start with 1 pound of chicken breast from Trader Joe’s. I pat the meat dry with a paper towel. If it’s wet, it steams instead of browning. I coat the chicken with 1 tablespoon of Chosen Foods Avocado Oil. It’s $12.99 for a 16.9 oz bottle. Avocado oil has a high smoke point, so it won’t burn. Then I apply a heavy coat of seasoning. I use McCormick Grill Mates Montreal Chicken, which is $2.49 for a 2.75 oz shaker. If you’re watching sodium, Mrs. Dash Original is a salt-free option for $3.69. Place the chicken in the basket in a single layer. Cook at 375°F (190°C) for 15 to 17 minutes. Flip the pieces halfway through. The edges get crispy while the center stays juicy.

Food Scale -33lb Digital Kitchen Scale for Food Ounces
A dependable everyday pick — Food Scale -33lb Digital Kitchen Scale for Food Ounces Grams Rechargea pulls in 78 ratings at 4.5 stars. Not flashy, just solid.
7. Pre-Made Seasoning Blends Save Twenty Minutes

Measuring eight spices takes too long. I used to pull every jar from my cabinet. Once, I spilled turmeric all over a new white t-shirt. The stain never came out. Pre-mixed blends are a time-saving fix. They guarantee consistent flavor and kill the twenty-minute spice cabinet scavenger hunt.
Brands like Mrs. Dash offer complex flavors without the sodium bloat. Their Fiesta Lime blend is $3.69 at Walmart and works for burrito bowls. McCormick is reliable and easy to find. Their Grill Mates line holds up to high heat. If you don’t want to spend four dollars on a shaker, mix a bulk batch yourself. A good blend is equal parts smoked paprika, garlic powder, onion powder, kosher salt, and black pepper. I keep a batch in a mason jar next to the stove. Use 1 tablespoon per pound of meat. It creates a dark, savory crust.
8. The 333 Method Prevents Mid-Week Boredom

Eating the same thing four days in a row is miserable. By Thursday, I’m gagging at the smell of my Tupperware. To stop this, I use the 333 Meal Prep Method. It’s a flexible approach to bulk cooking. Instead of five identical containers, you pick 3 proteins, 3 carbs, and 3 vegetables to rotate. You store them in separate containers and build different bowls each morning.
For protein, I prepare sliced chicken breast, shredded chicken thighs, and browned ground chicken. For carbs, I cook Jasmine rice, brown rice, and quinoa. For vegetables, I roast broccoli, slice bell peppers, and buy a tub of Earthbound Farm Organic Baby Spinach. The spinach costs $5.49 for 16 oz at Whole Foods. On Monday, I might pack ground chicken with white rice and broccoli. On Tuesday, I’ll pack shredded thighs over quinoa with peppers, spinach, and a drizzle of Primal Kitchen Buffalo Sauce, which is $6.99 at Sprouts. This rotation offers variety. It requires more dishes on Sunday, but it stops you from wasting food on Friday.
9. Ditch The Plastic For Glass Storage Containers

Storing hot, greasy food in thin plastic is a mistake. I used black takeout containers for years. After a few rounds in the microwave, the plastic warps. The scratches harbor old grease and smells. I once scrubbed a plastic tub three times, and it still smelled like garlic. The lids eventually stretch, which means your food dries out in the fridge.
Glass is the only hygienic choice. It’s non-toxic, durable, and doesn’t absorb odors or stains. You can move them from the fridge to the microwave without worrying about chemicals. I bought the Pyrex Simply Store 6-piece set for $19.99 at Target. The glass is thick. The silicone-lined lids latch down, creating a reliable seal. This seal keeps rice soft and chicken moist on day four. The rectangular shape stacks efficiently in my fridge. They’re heavier to carry, but the trade-off is worth it. You won’t ever open your bag to find a pool of chicken juice at the bottom.
If you’re tired of eating dry, rubbery lunches, start by changing your chicken cut to thighs and cooling your rice on a flat baking sheet. These small changes dictate the texture and safety of your food. I’ve used these steps for three years, and I won’t go back to the guessing game I played on Sundays. Save this guide for your next grocery run, and let’s get your prep routine functional.

Food Scale, 11lb Kitchen Scale with 0.05oz/1g Precision
Food Scale has been one of the most consistently praised picks in this category. 15 reviewers averaged 4.5/5.
Frequently Asked Questions
How long does meal prep chicken and rice last in the fridge?
When stored in completely airtight glass containers, your cooked chicken and rice will safely last for 4 to 6 days in the refrigerator. You must cool the rice rapidly on a baking sheet within two hours of cooking before sealing it to prevent any dangerous bacterial growth.
Why is my meal prep chicken always dry when I reheat it?
You’re likely using thick chicken breasts and overcooking them on the stove. To fix this, switch to higher-fat chicken thighs or cut your breasts into exact 1-inch cubes. Always use a digital meat thermometer to stop cooking the second the internal temperature hits 165°F.
Can you freeze meal prep chicken and rice containers?
Yes, you can freeze these portions for up to three months. I highly recommend using heavy-duty freezer slider bags instead of thin plastic tubs to prevent freezer burn. When you microwave the frozen meal, add one tablespoon of water to generate steam and soften the rice.
How do I stop my meal prep rice from turning into mush?
Mushy rice happens when you use short-grain varieties or fail to rinse the surface starch off before cooking. Switch to long-grain Jasmine rice or parboiled rice, which naturally resists clumping. Always rinse your raw white rice under cold water until the water runs completely clear.
