What’s Inside
- Master The “Salad In A Jar” Technique For Crisp Lunches
- Prioritize Component-Based Teacher Meal Prep
- Embrace Air Fryer Batch Cooking For Crispy Proteins
- Invest In High-Quality, Uniform Storage Containers
- Use Sous Vide For Perfectly Cooked Proteins
- Don’t Underestimate The Power Of Frozen Produce
- Batch Cook Soups And Stews For Easy Dinners
- Prep “Grab-And-Go” Breakfasts On Sunday
- Don’t Forget Hydration And Temperature Control
Last October, I stood in the staff room at 11:45 AM staring at a plastic container of gray, watery zucchini noodles that smelled like wet dog. That was my rock bottom with teacher meal prep. The microwave hummed while I realized I couldn’t stomach another bite of soggy vegetables. I tossed it and ate three bags of stale pretzels from the vending machine instead. You don’t need to live like that. I’ve spent three years figuring out how to get a week of food ready in under 30 minutes of active kitchen time on Sundays. The secret isn’t complicated recipes with twenty ingredients. It’s treating your kitchen like an assembly line and using specific tools that do the work for you.
You spend all day managing a classroom, so you shouldn’t manage a complicated dinner routine when you get home. Let’s walk through the exact steps I use to stay fed during the craziest weeks of the semester. I’ve learned these lessons the hard way, usually after ruining a perfectly good batch of groceries. Trust me.
1. Master The “Salad In A Jar” Technique For Crisp Lunches

I tried packing salads in wide, flat Tupperware for months before realizing why they tasted like wet cardboard by Wednesday. The dressing spreads and wilts every leaf. Now, I use Ball 32-ounce Wide Mouth Jars. You can grab a 4-pack at Target for $10.99. The vertical shape is why this works. Pour 2 tablespoons of vinaigrette or creamy ranch at the bottom. Next, drop in hard vegetables like 1/2 cup of chopped carrots and thick bell peppers. They sit in the dressing and marinate instead of getting soggy.
Then add 1/2 cup of cooked quinoa or farro, followed by 4 oz of grilled chicken or chickpeas. The softer vegetables like cherry tomatoes go next. Finally, stuff 2 cups of dry spinach or romaine at the top. The greens never touch the wet ingredients until you shake the jar into a bowl at lunch. When you pour it out, the dressing coats everything evenly without turning the romaine into a mess. I learned this the hard way last Tuesday at Whole Foods when I bought a pre-packaged salad that mixed the dressing in advance. It was complete mush by the time I opened it. Making them yourself in glass keeps lettuce crisp for five days. Skip plastic entirely. Plastic holds onto raw onion and garlic smells forever. Glass washes clean in the dishwasher.
2. Prioritize Component-Based Teacher Meal Prep

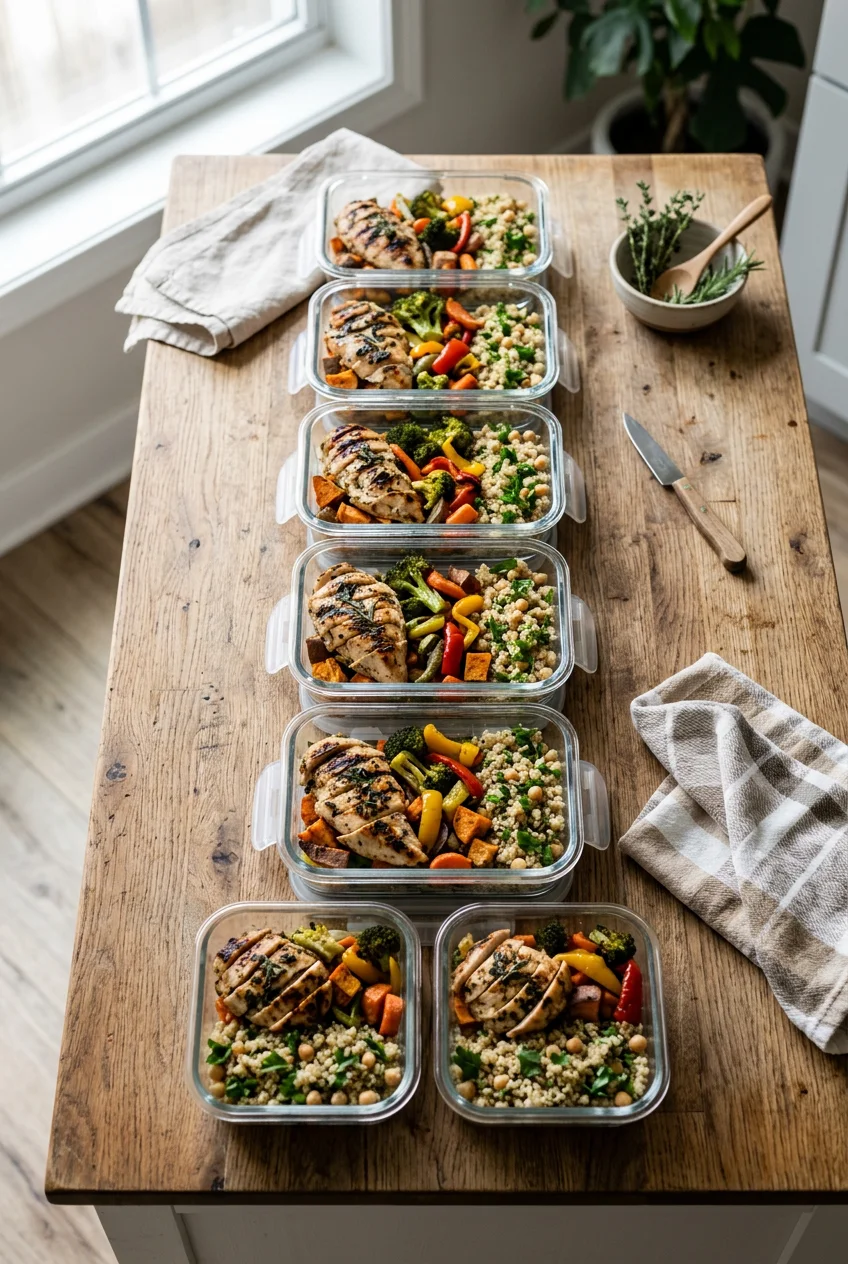
The fastest way to burn out is eating the same chicken and rice container five days in a row. I did this my first year teaching. By Thursday, I’d rather starve than look at another piece of dry chicken. Instead of prepping full meals, I prep versatile components. On Sunday, I boil 2 cups of dry quinoa, roast 4 cups of chopped sweet potatoes and broccoli, and shred 2 pounds of cooked chicken breast. I store these in separate containers. This takes maybe 20 minutes of active chopping.
During the week, I mix and match. Monday is a grain bowl with quinoa, chicken, and a scoop of store-bought tzatziki. Tuesday is a wrap using a tortilla, the same chicken, and spinach. Wednesday is a quick stir-fry using the roasted veggies. Nutritionists recommend this because it prevents flavor fatigue. A common mistake is trying to prep five different complex recipes. You’ll spend four hours in the kitchen and hate it. Start small. Prep 2 cups of grain and 1 pound of protein. You can scale up later. I buy bulk quinoa at Costco because a 4.5-pound bag costs $10.49, lasting three months. For weeks when I’m overwhelmed, I skip the prep and use Factor meals. They cost about $10.99 per serving and arrive cooked. You might also like: 10 Healthy Meal Prep Ideas for Every Budget
3. Embrace Air Fryer Batch Cooking For Crispy Proteins

I used to bake chicken breasts in the oven. They always came out rubbery and pale. Two years ago, I bought the Ninja Foodi 8-quart 2-Basket Air Fryer. It usually runs between $150 and $200 at Walmart. The dual baskets mean I can cook 2 pounds of boneless, skinless chicken breasts on one side and roast 3 cups of Brussels sprouts on the other at once. For the chicken, I spray it lightly with olive oil and coat it with 1 teaspoon of garlic powder, 1 teaspoon of smoked paprika, salt, and pepper.
I set the air fryer to 375°F for 18 minutes. I flip the meat halfway through. The circulating air creates a crispy outside while keeping the inside juicy. I let it rest on a cutting board for 10 minutes before slicing it into 1-inch strips. The biggest mistake people make is crowding the basket. If you stack the chicken, it steams instead of frying. You end up with soggy meat. Cook in batches if you need to. The 8-quart size is large enough that I rarely run into this. I keep the chicken in a glass container; it stays fresh for four days. Reheating it in the staff room microwave takes 60 seconds, and it keeps some of that crispy texture. You might also like: 15 Brilliant Batch Cooking Ideas That Actually Work
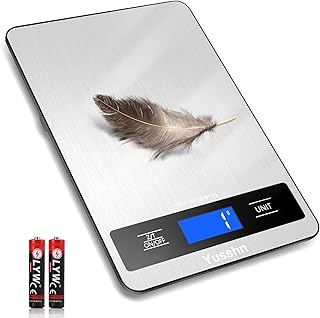
Food Scale, 11lb Kitchen Scale with 0.05oz/1g Precision
If you want something that just works, Food Scale is a safe bet (15 reviews, 4.5 stars).
4. Invest In High-Quality, Uniform Storage Containers

Nothing ruins a morning faster than pulling a container out of the fridge and realizing the lid doesn’t fit, or worse, having it leak. I ruined a leather bag three years ago because a flimsy plastic container of tomato soup popped open. The smell of stale tomatoes lingered in my car for weeks. I threw away every mismatched piece of plastic that afternoon. Now, I use the Pyrex Simply Store 18-piece Glass Food Storage Set. You can find it at Sprouts or Target for about $45 depending on sales.
Glass is heavy, but it doesn’t stain and it doesn’t warp in the microwave. The lids seal tightly with a satisfying snap. If you want a lightweight option, buy commercial plastic deli containers. You can get a 24-pack of 16-ounce deli containers on Amazon or at a restaurant supply store for $24.99. They stack perfectly in the fridge. They all use the same lid. You’ll never waste time searching for the right top again. I keep a stack of these for cold items like chopped fruit or eggs. Avoid the cheap grocery store containers with the snap-on wings. The hinges break after three trips through the dishwasher, and they aren’t worth the money. You might also like: 12 Low Carb Meal Prep Worth Trying
5. Use Sous Vide For Perfectly Cooked Proteins

If you hate reheated meat because it gets dry, try the sous vide method. I bought the Anova Culinary Sous Vide Precision Cooker Nano for $129 at Target last winter. It’s a wand that heats a pot of water to a precise temperature. I pair it with a FoodSaver Vacuum Sealer, which costs around $89. I seal 2 pounds of pork tenderloin or chicken breasts in a bag with 1 tablespoon of olive oil and a sprig of fresh rosemary. I drop the bag into the water bath.
For chicken, I set the Anova to 145°F for 1.5 hours. It’s impossible to overcook because the water never gets hotter than 145 degrees. Once the timer goes off, I plunge the bag into ice water to chill it. You can leave the meat in the sealed bag in your fridge for seven days. The vacuum seal prevents oxygen from spoiling the food. When I want a piece for lunch, I open the bag, pat it dry, and sear it in a hot pan for 60 seconds per side. I used to ruin pork tenderloin by roasting it until it was chalky. This method keeps it tender. The initial setup takes counter space, but the shelf life makes it worth it.
6. Don’t Underestimate The Power Of Frozen Produce

I throw away less food now because I stopped buying fresh vegetables for every meal. I used to buy massive clamshells of fresh spinach at Kroger, use a handful for a smoothie, and watch the rest turn into green slime. It was a waste of money. Now, I rely on frozen produce for my cooked meals. Frozen fruits and vegetables are flash-frozen right after picking. They actually retain more nutrients than fresh broccoli that sits on a truck for two weeks.
I keep a 3-pound bag of frozen mixed berries in my freezer for smoothies. I blend 1 cup of berries, 1/2 cup of Greek yogurt, and 1 cup of almond milk. I also keep bags of frozen stir-fry vegetable mixes. When I’m exhausted on a Sunday, I dump a 16-ounce bag of frozen broccoli and carrots onto a sheet pan, toss them with 2 tablespoons of olive oil, and roast at 400°F for 25 minutes. No washing. No chopping. The texture isn’t as crisp as fresh, so I don’t use them for raw salads, but for soups or roasted dishes, they work perfectly. If you want extra flavor, sprinkle parmesan and garlic salt over the hot vegetables. Buying frozen on sale saves me $15 a week, and I never worry about it rotting.

Bento Box Adult Lunch Box – 4 Pack, 5
If you want something that just works, Bento Box Adult Lunch Box – 4 Pack is a safe bet (24 reviews, 4.5 stars).
7. Batch Cook Soups And Stews For Easy Dinners

Liquid meals are the easiest to prep in large volumes. I make a huge pot of chicken chili or lentil soup on Sunday. A standard recipe yields 6 to 8 servings. The problem I used to run into was storage. I’d pour the batch into one giant plastic tub and freeze it solid. When I wanted a single bowl, I’d hack at the frozen block with a butter knife. It was dangerous and stupid. I fixed this by buying silicone Souper Cubes. They cost $29.95 for a two-pack on Amazon.
They look like massive ice cube trays. You pour 1 cup of soup into each compartment and freeze the tray. Once solid, you pop out the blocks and store them in a freezer bag. When I need a lunch, I grab one block, drop it into my glass Pyrex, and put on the lid. By lunch, it’s thawed. I microwave it for 3 minutes, and it’s hot. Soups taste better on the second or third day anyway. I recommend a batch of black bean chili with 2 cans of beans, 1 can of crushed tomatoes, and 1 tablespoon of cumin. It’s cheap, filling, and freezes beautifully.
8. Prep “Grab-And-Go” Breakfasts On Sunday

If I don’t eat breakfast, I get irritable by second period. I lack the energy to cook eggs at 6:00 AM. I spend 15 minutes on Sunday making cold breakfasts. My rotation includes overnight oats and chia pudding. For the oats, I line up five mason jars. In each, I pour 1/2 cup of rolled oats, 1 cup of oat milk, 1 tablespoon of chia seeds, and 1/4 cup of frozen blueberries. I screw the lids on and put them in the fridge. The oats soften overnight.
If you prefer a smoother texture, make chia pudding. I whisk 3 cups of almond milk with 3/4 cup of chia seeds and 2 tablespoons of maple syrup. I let it sit for 10 minutes, whisk it again to break up clumps, and portion it out. I tried making this without the second whisk, and the seeds formed a hard brick. Don’t skip that stir. If you want savory, crack 10 eggs into a bowl, whisk them with 1/2 cup of chopped spinach and 1/4 cup of feta, and pour the mixture into a greased muffin tin. Bake at 350°F for 20 minutes. You get mini frittatas that take 30 seconds to reheat.
9. Don’t Forget Hydration And Temperature Control

All this prep is useless if your food spoils under your desk. Many classrooms lack refrigerators, and the staff room fridge is packed by 7:30 AM. I used to carry my food in a plastic grocery bag. By noon, my cheese sticks were sweating. I bought a Hydro Flask Insulated Lunch Bag for $45. I pair it with a 4-pack of Fit & Fresh Cool Coolers, which cost $11.99 on Amazon. I put two ice packs at the bottom, stack my glass containers, and zip it shut.
My food stays refrigerator-cold for six hours. This is critical on days when I pack no-cook meals. Sometimes I’m too busy to use the microwave, so I pack a bento box with 2 hard-boiled eggs, 1 ounce of cheddar, 1/2 cup of almonds, and a handful of Mary’s Gone Crackers. Those crackers cost $5.49 a box, but they’re crunchy and don’t get stale. I also carry a 40-ounce Stanley Quencher H2.0 FlowState Tumbler. It costs $45. The handle makes it easy to carry when my hands are full, and the straw encourages me to drink. I fill it with ice water before I leave; the ice stays frozen until the final bell. Staying hydrated stops me from snacking on junk during my planning period.
Figuring out a routine takes trial and error. You’ll probably buy the wrong containers or forget to whisk your chia seeds, and that’s fine. I’ve ruined plenty of meals learning these methods. The goal isn’t aesthetic fridge photos. The goal is making sure you eat a decent meal when you’re exhausted. Start with just the overnight oats and salad jars. Once you see how much time that saves, you’ll want to prep proteins and roasted veggies. Meal prep is a skill, but it pays off every day. You’ve got this. Pin this guide so you can reference the cooking temperatures next time you’re writing your grocery list. Let me know in the comments which glass storage set you end up choosing. I’m always looking for new brands to test.

Rubbermaid Brilliance Tritan Plastic Food Storage
If you want something that just works, Rubbermaid Brilliance Tritan Plastic Food Storage Containers BPA Free is a safe bet (583 reviews, 4.5 stars).
Frequently Asked Questions
How long do Mason jar salads last in the fridge?
When layered correctly with the dressing at the bottom and greens at the very top, Mason jar salads stay crisp for up to five days. Using glass jars instead of plastic prevents the vegetables from absorbing odors and keeps the ingredients fresh all week.
What are the best containers for teacher meal prep?
I recommend the Pyrex Simply Store glass containers because they won’t stain or warp in the microwave. For a lightweight, budget-friendly option, 16-ounce plastic deli containers are excellent because they stack easily and share one universal lid size, saving you time in the morning.
How can I keep my packed lunch cold in a warm classroom?
Invest in a heavily insulated lunch bag like a Hydro Flask and use at least two high-quality ice packs, such as Fit & Fresh Cool Coolers. Place the ice packs at the bottom of the bag to keep your food at a safe refrigerator temperature for up to six hours.
What’s the fastest way to batch cook chicken for the week?
Cooking chicken in a dual-basket air fryer like the Ninja Foodi is the fastest method. Cook two pounds of seasoned chicken breasts at 375°F for 18 minutes. It yields perfectly juicy meat with a crispy exterior in half the time of a traditional oven.
