What’s Inside
- The “Cool Completely” Rule for Freezing
- Flash Freeze for Flawless Stacks
- Invest in Serious Freezer-Safe Containers
- Prep Dry Mixes in Advance for Speed
- High-Protein Pancake Meal Prep Mixes
- Gluten-Free Options That Actually Work
- Keto-Friendly Mixes for Low-Carb Lifestyles
- The Overnight Refrigeration Caveat
- Stop Overmixing Your Batter
- Mastering the Cursed First Pancake
- Reheating Smartly for the Best Texture
- Diversify Toppings and Add-ins
Last Tuesday at Whole Foods, I stared at a $9 box of frozen pancakes and realized my own pancake meal prep had totally failed the week prior. I’d shoved twelve warm, freshly cooked pancakes into a plastic bag, and they fused into a solid, impenetrable ice block. I actually snapped a butter knife trying to pry them apart on a busy Thursday morning. Pancake meal prep doesn’t have to end in a frozen, soggy disaster. I spent three months eating dense, rubbery discs before figuring out the actual chemistry of freezing cooked batter and storing dry mixes. Here are the exact steps, temperatures, and containers that work for making your breakfasts in advance.
1. The “Cool Completely” Rule for Freezing

I did this wrong for months. If you take pancakes straight from the griddle and put them in a container, the residual heat creates steam. Steam turns into condensation, and condensation turns your pancake meal prep into a soggy mess that freezes into a solid brick. You must let them cool completely on a wire rack. I use a Wilton 3-Tier Cooling Rack I picked up for $14.99 at Target. The tiered design saves counter space, and the wire grid lets air circulate underneath.
When you lay them out individually, the edges crisp up as they cool to room temperature. It takes about thirty minutes. If you bag them while they’re even slightly warm in the center, you’re ruining the batch. The texture shifts from fluffy to gummy. I learned that the hard way when I rushed the process before work. I ended up throwing away an entire batch of blueberry pancakes because they turned to mush. A wire rack prevents the bottoms from sweating against a flat plate.
Common mistake: don’t stack them while they cool. They need to be in a single layer. Stacking traps the heat, defeating the purpose of the rack entirely. Once they feel cool to the touch on both sides, they’re ready.
2. Flash Freeze for Flawless Stacks

Skipping the flash freeze is the fastest way to ruin your prep. For best results, arrange your cooled pancakes in a single layer on a parchment-lined baking sheet. Put the sheet into the freezer for three to four hours, until the pancakes are rock solid. Once frozen, transfer them to freezer-safe bags. I use standard Ziploc Freezer Bags, which run about $8 for a box of 30 at Kroger.
If you’re using sticky add-ins like chocolate chips or blueberries, I recommend layering small squares of parchment paper between each pancake inside the bag. This is crucial for easy separation. When you reach into the bag on a Tuesday morning, you want to pull out exactly two pancakes, not a clump of four.
I used to skip this because it felt tedious. I’d just throw them all in a bag. The result was a frustrating, icy block. Flash freezing individually ensures the moisture is locked in without acting as a glue. It’s a non-negotiable step if you want a grab-and-go breakfast. Trust me.
3. Invest in Serious Freezer-Safe Containers

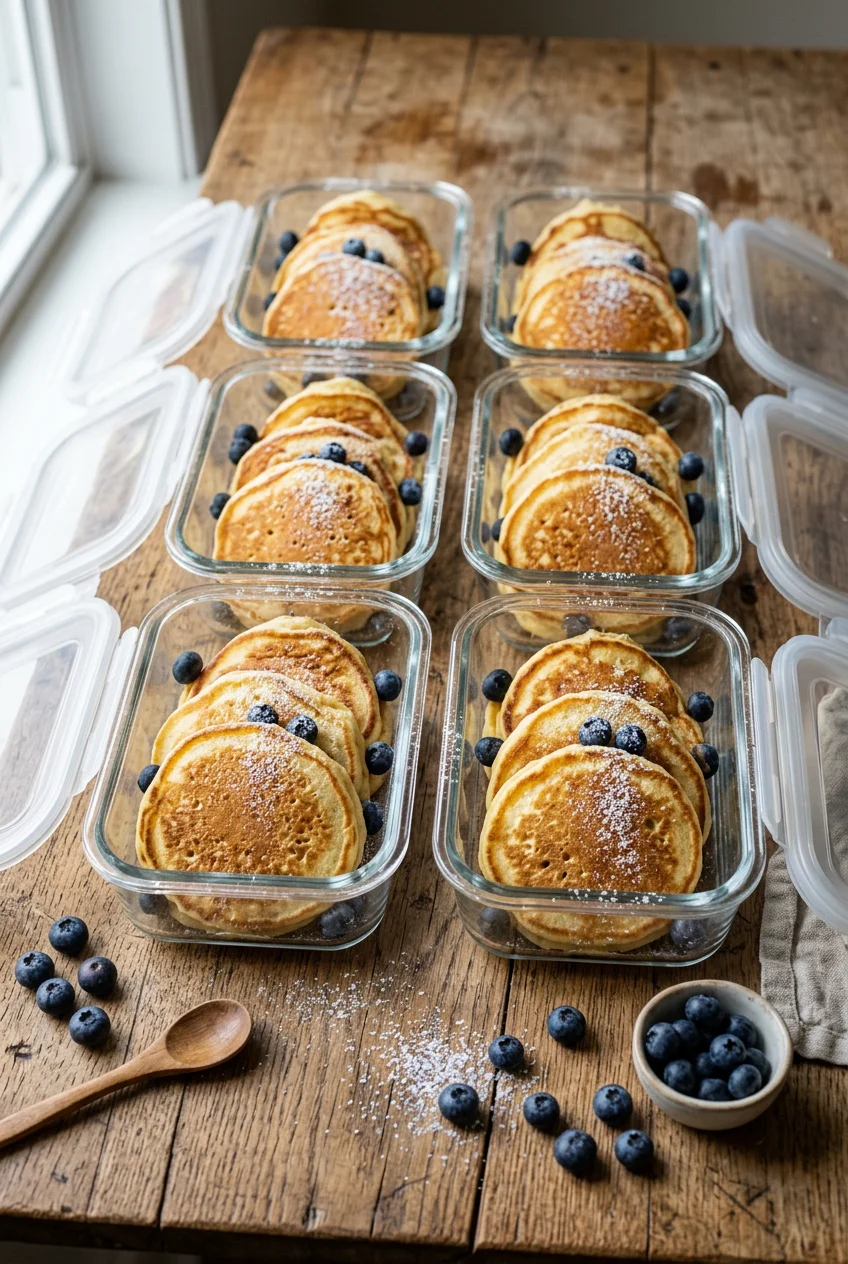
For long-term storage, like two or three months, plastic bags aren’t always enough. They can tear, and they don’t offer much protection against freezer burn. I switched to airtight, freezer-safe containers after noticing a metallic freezer smell on my pancakes. I use Freshware 32oz rectangular plastic containers. You can get a 15-pack for around $15 at Walmart or Amazon. The 32oz size fits exactly six standard-sized pancakes perfectly.
If you prefer avoiding plastic, Black+Blum makes excellent stainless steel containers that are microwave, oven, and freezer safe. They’re pricier, usually around $35 each, but the silicone seal on the lid is thick. The tight seal prevents the dry freezer air from sucking the moisture out of your food.
When packing them in hard containers, I still use the parchment paper trick. The hard sides protect the pancakes from getting crushed by heavier items like bags of frozen fruit. It’s a small investment that keeps your breakfast from falling apart.

Rubbermaid Brilliance Tritan Plastic Food Storage
Rubbermaid Brilliance Tritan Plastic Food Storage Containers BPA Free punches above its price — 583 buyers rated it 4.5 stars. I would buy it again.
4. Prep Dry Mixes in Advance for Speed

If you prefer fresh pancakes but hate measuring flour at 6 AM, prep your dry mixes early. I keep three jars of pre-mixed ingredients in my pantry. For a batch of 12 to 14 pancakes, combine 1 cup all-purpose flour, 1 teaspoon baking powder, 1 teaspoon sugar, and 1/2 teaspoon salt. I store this in OXO Good Grips Pop Containers, which cost $16.99 at The Container Store.
When you’re ready to cook, just dump the jar into a bowl and add your wet ingredients. It cuts prep time in half and keeps flour off your counters. I write the required wet ingredients (1 cup milk, 1 egg, 2 tablespoons melted butter) on masking tape on the back of the container. You might also like: 8 Meal Prep Lunches You Need to See
Pro tip: add a secret ingredient to make them taste like a diner mix. I add 2 tablespoons of Hoosier Hill Farm Buttermilk Powder (available on Amazon for $14.99). It provides a rich, tangy flavor and extends the shelf life without needing refrigeration. It’s much better than buying liquid buttermilk that expires in the fridge. You might also like: 15 Cozy Freezer Meals Ideas to Transform Your Space
5. High-Protein Pancake Meal Prep Mixes

If you’re tracking macros, standard flour pancakes won’t keep you full until lunch. I started using high-protein mixes last year. Kodiak Cakes Buttermilk Power Cakes are my go-to. They cost around $5 per box at Costco or Target and offer 14g of protein per serving. The texture is denser than traditional pancakes, but they hold up well in the freezer. You might also like: 9 Cheap High Protein Meal Prep Worth Trying
I’ve also tested Flourish Pancakes, which offers a whey-based mix with 23g of protein per serving. The whey changes the cooking dynamic. They brown much faster, so you have to drop your heat to medium-low. If you cook them on high heat, the outside burns before the inside cooks through, leaving you with a gooey center.
When prepping these, I make a double batch on Sunday. Because protein pancakes are naturally drier, I add an extra splash of milk (about 1/4 cup) to the batter. This prevents them from turning into cardboard in the microwave later.
6. Gluten-Free Options That Actually Work

Gluten-free baking is tricky because gluten gives pancakes their structural integrity. Without it, they crumble. For gluten-free prep, I use Bob’s Red Mill Gluten-Free Pancake Mix, which is around $7 at Sprouts. It has a slightly gritty texture from the rice flour, but it fluffs up nicely.
If you’re making them from scratch, skip cheap flour blends. I tried a generic brand once, and the pancakes literally dissolved when I poured syrup on them. Use a blend like King Arthur Gluten-Free Flour (the 1-to-1 version in the blue bag). It costs about $10.99. The crucial detail is that it already contains xanthan gum. Xanthan gum acts as the binder, replacing the gluten. If your flour doesn’t have it, your pancakes won’t survive the freezing process.
I find that gluten-free batters need to rest for ten minutes. This lets the starches absorb the liquid, resulting in a thicker batter and a taller pancake. Don’t skip this rest, or your batter will spread too thin.
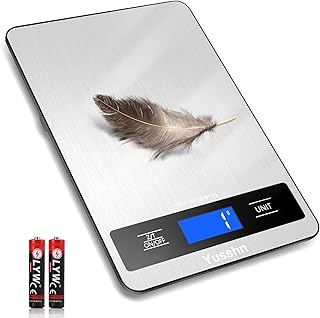
Food Scale, 11lb Kitchen Scale with 0.05oz/1g Precision
Food Scale has been one of the most consistently praised picks in this category. 15 reviewers averaged 4.5/5.
7. Keto-Friendly Mixes for Low-Carb Lifestyles

Keto pancakes require a different approach. You can’t just swap wheat flour for almond flour. King Arthur Keto Wheat Pancake Mix is a reliable option I found at Whole Foods for $8.99. It offers 2g net carbs, 9g of protein, and 12g of fiber per serving. A 12oz mix makes about twenty 3.5-inch pancakes, which is perfect for a week.
If you prefer making your own, I use a specific ratio. Combine 4 cups lupin flour, 1 cup almond flour, 1/2 cup keto sweetener, 4 teaspoons baking powder, 2 teaspoons xanthan gum, 2 teaspoons pink Himalayan salt, and 2 teaspoons cinnamon powder. Lupin flour is essential. It mimics the texture of wheat flour better than straight almond flour, which makes pancakes heavy and wet.
When cooking keto batter, be gentle when flipping. They don’t have the same elasticity as standard pancakes, so they tear easily. I use a wide, thin silicone spatula to support the entire pancake.
8. The Overnight Refrigeration Caveat

Sometimes you don’t want to cook on Sunday. You can prepare pancake batter the night before and refrigerate it in an airtight container. I use a Pyrex 4-cup glass measuring cup with a silicone lid, which costs $9.99 at Target. The pour spout makes it easy to dispense the batter directly onto the griddle.
There is a major caveat here. Pancakes made with overnight batter will be less fluffy. The leavening agents react with the liquid immediately. By letting it sit, they lose some potency. The pancakes will still taste excellent, but they won’t have that diner-style height.
Pro tip: if you’re making keto batters overnight, leave the baking powder out. Add the 4 teaspoons of baking powder right before you start cooking in the morning. This ensures you get maximum lift right when the batter hits the hot pan.
9. Stop Overmixing Your Batter

This is the most frequent mistake I see. You aren’t making a smooth cake batter. A common error is overmixing until it’s perfectly smooth. You need to stir the wet and dry ingredients together just until no dry pockets of flour remain. Some small lumps are perfectly fine.
When you overmix wheat-based batter, you develop the gluten strands. This leads to tougher, rubbery pancakes. I used to whisk my batter for two minutes straight. The pancakes came out looking like flat tortillas. Now, I use an OXO balloon whisk ($11.99) and give it exactly ten to twelve gentle folds. As soon as the raw flour streaks disappear, I stop.
The lumps will hydrate and cook out. Trust the process. If your batter looks a little lumpy, you’re doing it right. If it looks like smooth crepe batter, you’ve gone too far.

Food Scale, 11lb Digital Kitchen Scale with 6 Units LCD
A dependable everyday pick — Food Scale pulls in 21 ratings at 4.5 stars. Not flashy, just solid.
10. Mastering the Cursed First Pancake

The first pancake often turns out poorly. It’s usually pale or burnt. This happens due to an improperly heated or overly greased pan. I used to pour a tablespoon of oil into the pan, resulting in a first pancake that was essentially deep-fried.
Wipe almost all the fat from the pan before adding the first ladle. I heat my Lodge Cast Iron Griddle ($39.90 at Walmart) over medium heat for five full minutes. Then, I add a small pat of butter. I take a folded paper towel and wipe the melted butter completely across the surface. The hot cast iron should look dry but have a microscopic layer of fat.
This ensures even cooking from the start. The batter makes direct contact with the hot metal rather than floating on a pool of oil. Getting the pan temperature right means your first pancake looks just as perfect as your twelfth.
11. Reheating Smartly for the Best Texture

How you reheat dictates how much you’ll enjoy eating. For quick results, microwave 2 to 6 pancakes on a microwave-safe plate for 20 to 60 seconds. However, the microwave creates steam, making the pancakes soft and floppy. It’s fine in a rush, but not the best method.
For a crispier exterior, use your oven or toaster. I prefer the oven method for the whole family. I lay them out on a Nordic Ware baking sheet ($19.99 at Target) and bake them at 375°F for about 10 minutes. The dry heat crisps up the edges beautifully.
If you’re just making one or two, drop them straight into a standard slot toaster. You don’t even need to thaw them. Run them on a medium setting. They pop up hot, crispy on the outside, and fluffy on the inside. Just ensure they aren’t too thick to fit, or they will get stuck and burn.
12. Diversify Toppings and Add-ins

Eating the same flavor every day gets boring. While classic maple syrup is beloved, I explore healthier alternatives. Trending options include plain Greek yogurt, fresh berries, and sliced avocado for savory versions. I make a berry sauce every Sunday. I simmer 1 cup of frozen mixed berries, 1/4 cup of water, 1 tablespoon of cornstarch, and 1 tablespoon of lemon juice in a small saucepan until thickened. It takes five minutes and tastes incredible.
For keto dieters, Wholesome Yum offers a Sugar-Free Keto Maple Syrup recipe using a monk fruit allulose blend that actually pours like the real thing. It doesn’t crystallize in the fridge like erythritol-based syrups do.
If you’re adding ingredients like chocolate chips to the pancakes, don’t mix them into the main batter bowl. Sprinkle them onto the batter directly on the griddle about 1 minute into cooking. This prevents them from sinking or burning. For a small batch, use no more than 50 grams of candy or 30 grams of fruit per cup of flour, otherwise, the pancake loses its structure. Took me years to figure that out.
Pancake meal prep has entirely shifted how my mornings operate. I’m no longer skipping breakfast or buying expensive, stale pastries from the coffee shop. By mastering the flash freeze, respecting the cooling rack, and mixing up your toppings, you’ll have a reliable, delicious breakfast ready in under two minutes. I’d highly recommend grabbing a dedicated freezer container and trying a batch this Sunday. Pin this guide so you have the dry mix ratios and freezing steps handy when you’re ready to start!

Bento Box Adult Lunch Box – 4 Pack, 5
Honestly, Bento Box Adult Lunch Box – 4 Pack surprised me — sturdier than it looks in the photos, and over 24 buyers gave it 4.5 stars.
Frequently Asked Questions
How long do meal prep pancakes last in the freezer?
When cooled completely and stored in airtight, freezer-safe containers or heavy-duty freezer bags, pancake meal prep can last up to 2 to 3 months without developing freezer burn or losing texture.
Why are my frozen pancakes sticking together?
They stick together if you skip the flash freezing step or pack them while still warm. Always cool them on a wire rack and flash freeze them in a single layer on parchment paper before bagging.
Can I store pancake batter in the fridge overnight?
Yes, you can store batter in an airtight container overnight. However, the leavening agents lose some potency, resulting in slightly less fluffy pancakes. For keto batters, wait to add the baking powder until the morning.
What is the best way to reheat frozen pancakes?
For the best crispy texture, reheat frozen pancakes in a toaster or in an oven at 375°F for 10 minutes. Microwaving for 20-60 seconds is faster but results in a softer, steamier texture.
