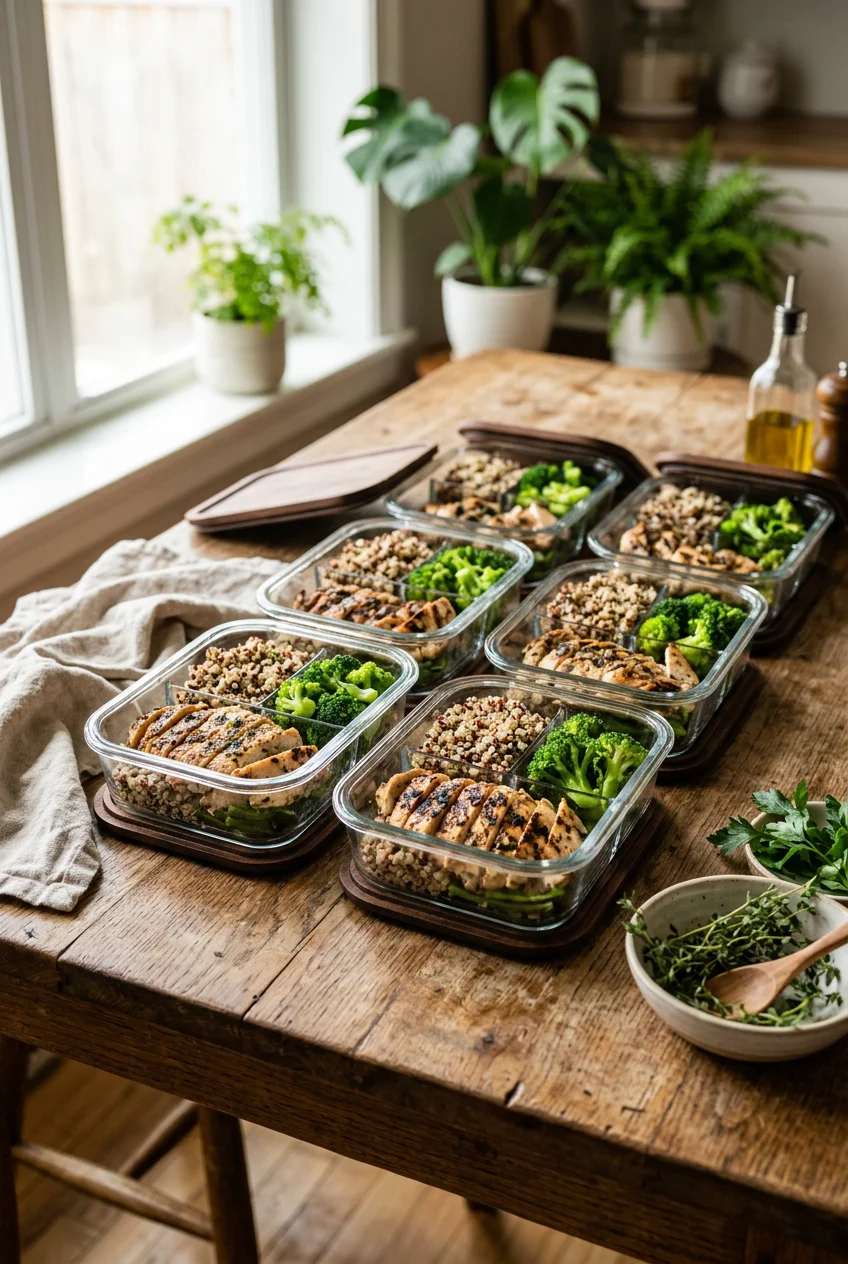
What’s Inside
- Prioritize Protein-Rich Staples for Bulk Buying in High Protein Freezer Meal Prep
- Master Portion Control with a Digital Kitchen Scale
- Invest in High-Quality, Freezer-Safe Containers
- Embrace Vacuum Sealing for Peak Freshness
- Pre-Cook Ground Meat for Instant Base Meals
- Utilize Silicone Muffin Tins for Egg Bites
- Shred Chicken in a Stand Mixer for Fast Portions
- Label Everything with Painter’s Tape
Last Tuesday at Whole Foods, I found myself staring blankly at the hot bar, calculating if I could justify paying $14.99 a pound for dry, rubbery chicken breast just to hit my macros. That was my breaking point with failing at high protein freezer meal prep. I spent years throwing haphazardly wrapped chicken into my freezer, only to pull out ice-caked blocks that tasted like the inside of a damp cardboard box when microwaved. Clean eating simply doesn’t work if the food makes you gag. I’m writing this because I finally figured out a system that doesn’t end in freezer-burned tragedy. I tried doing this wrong for months before I realized that air exposure and improper portioning were destroying my grocery budget. Now, I’ve got a methodical routine that actually keeps the meat tender and the vegetables crisp. Here’s exactly how I handle my prep, down to the exact containers and measurements I use to keep my sanity intact. Trust me on this.
1. Prioritize Protein-Rich Staples for Bulk Buying in High Protein Freezer Meal Prep

When you’re committing to high protein freezer meal prep, your first step happens at the grocery store, not in the kitchen. You need to focus on versatile, freezer-friendly protein sources that offer actual nutritional value rather than just taking up space in your ice box. Chicken breast and thighs provide 25 to 30 grams of protein per 4 oz cooked serving. Ground turkey or beef offers 22 to 24 grams per 4 oz. Salmon contains 22 grams of protein per 3 oz serving. For plant-based options, lentils pack 18 grams per cooked cup, and tofu provides 10 grams per half cup. You need to purchase these in bulk when on sale to save money. If you’re active, aim to meet the recommended daily intake of 1.6 to 2.2 grams of protein per kilogram of body weight.
Last month at Costco, I bought their Kirkland Signature fresh chicken breast bulk packs. They cost $14.99 for a pack of six massive breasts. I grabbed three packs. My mistake was leaving them in the trunk of my sedan for an hour while I ran into Target for laundry detergent. The ice packs melted. Raw chicken juice leaked through the thin plastic film and soaked directly into my trunk carpet. The smell was horrific. I spent $45 on detailing spray just to get the rotting poultry odor out of my upholstery. Now, I bring a hard-sided Igloo cooler ($29.99 at Walmart) specifically for meat transport.
Once you get the meat home safely, portion it immediately. Don’t throw the entire six-pack into the freezer. It freezes into a solid twenty-pound block of poultry that you can’t separate without a bandsaw. Separate the breasts, trim the white fat with kitchen shears, and prep them for individual storage. This upfront work takes twenty minutes but saves you hours of thawing frustration later in the week.
2. Master Portion Control with a Digital Kitchen Scale

You can’t eyeball protein portions and expect to hit your macronutrient goals accurately. Eliminate the guesswork entirely by using a digital kitchen scale to weigh your proteins. You should aim for 3 to 4 ounce servings (approximately 85 to 113 grams) of cooked protein per meal, which typically delivers 20 to 30 grams of protein. This precision ensures you consistently hit your targets and helps with calorie management.
I bought the OXO Good Grips 11-pound scale ($55.99 at Target) specifically because the digital display pulls out from the base. When I put a massive glass mixing bowl on top, I can actually read the numbers instead of craning my neck to peek under the rim. I used to eyeball 4 ounces of ground turkey when I first started prepping. I’d scoop what looked like a reasonable amount into my containers. Turns out, my visual estimation was terrible. I was actually eating 7 ounces per meal and wondering why my grocery budget was destroyed by Wednesday.
Weigh your meat after cooking, not before. Raw chicken loses about twenty-five percent of its weight in water when you bake it. If you weigh out 4 ounces of raw chicken, you’re only getting about 3 ounces of cooked meat, which leaves you short on protein. Put your empty container on the scale, hit the tare button to zero it out, and add exactly 113 grams of cooked meat. It’s a mechanical, repetitive process, but it guarantees you aren’t accidentally shortchanging your diet or overeating expensive ingredients.
3. Invest in High-Quality, Freezer-Safe Containers

Choosing the right containers dictates whether your food stays fresh or turns into a frosty, inedible mess. You need durable, BPA-free options that can handle extreme temperature changes. I use Pyrex glass containers (the 4-cup round size, $34.99 for a 6-piece set at Walmart) for my solid meals like chicken and rice. They transition from the freezer to the microwave without shattering.
For liquid meals like high-protein bone broth stews or chili, I strictly use Souper Cubes. I bought the 1-cup and 2-cup silicone trays (typically $29.95 on Amazon) last winter because my round Pyrex bowls took up too much vertical space in my freezer. The thick silicone walls of the Souper Cubes let you push the frozen block of soup out with one thumb. You just pop the blocks out and transfer them to a freezer bag to save space.
I learned that the hard way. Two years ago, I bought a pack of cheap, thin plastic containers from an Instagram ad. I filled them with hot turkey chili and shoved them in the freezer. A week later, I dropped one on the floor. The plastic was so brittle from the cold that it shattered completely, sending sharp plastic shards directly into my frozen chili. I had to throw away four portions of expensive ground turkey because I couldn’t risk eating a plastic splinter. Skip the cheap plastic. It tastes like wet cardboard eventually anyway because it absorbs food odors. Stick to heavy glass or thick food-grade silicone. You might also like: 12 Meal Prep Snacks You Need to See

Rubbermaid Brilliance Tritan Plastic Food Storage
A dependable everyday pick — Rubbermaid Brilliance Tritan Plastic Food Storage Containers BPA Free pulls in 583 ratings at 4.5 stars. Not flashy, just solid.
4. Embrace Vacuum Sealing for Peak Freshness

Air is the primary enemy of frozen food quality. If air touches your meat in the freezer, it pulls the moisture out, leaving behind dry, white freezer burn spots that ruin the texture. To stop this, you need a vacuum sealer. I use the FoodSaver system ($129.99 at Target). You place the food in a plastic sleeve, and the machine sucks every microscopic bubble of air out before heat-sealing the plastic shut. This drastically reduces freezer burn and preserves the flavor of your high-protein meals for up to six months. You might also like: 15 Creative Cold Lunch Ideas to Transform Your Space
I bought this machine in October after I ruined a massive batch of salmon fillets. I tried using the cheap water displacement method, where you put the fish in a regular Ziploc bag and lower it into a bowl of water to push the air out before zipping it. I didn’t seal the corner properly. Water flooded into the bag and soaked my $12 piece of wild-caught salmon in dirty tap water. I had to throw it in the trash. You might also like: 15 Stunning Healthy Dinner Ideas to Steal Right Now
The mechanical whirring sound of the FoodSaver is loud, but watching the plastic shrink-wrap itself tightly around a perfectly seasoned chicken breast is incredibly satisfying. When sealing wet foods, like chicken in a yogurt marinade, freeze the meat on a baking sheet for two hours first. If you try to vacuum seal wet marinade, the machine sucks the liquid up into the vacuum channel and breaks the motor. Freeze it until it’s slightly firm, then seal it.
5. Pre-Cook Ground Meat for Instant Base Meals

Ground meat is the absolute workhorse of clean eating. Ground turkey (93/7 lean-to-fat ratio) and ground beef (90/10) cook incredibly fast and reheat without getting rubbery. I buy Kroger Simple Truth organic ground turkey ($5.49 per pound) and cook three pounds at once in a massive, hot cast iron skillet. The sizzling sound and the caramel-butter smell of rendering fat fills the kitchen, but doing it all at once saves me from washing that heavy pan three times a week. I store the cooked crumbles in 1-cup portions, which yields approximately 22 grams of protein.
The trick here is to season the meat very minimally during the bulk prep phase. I only use one teaspoon of kosher salt and a half teaspoon of black pepper per pound. If you add heavy taco seasoning to all three pounds, you’re stuck eating tacos for two weeks. By keeping the base flavor neutral, I can pull a frozen block of turkey out on a Tuesday, heat it up, and add marinara sauce for pasta. On Thursday, I can pull out another block, add cumin and chili powder, and make a taco bowl.
Don’t drain the fat down your kitchen sink. I poured hot turkey grease down my drain in my old apartment, and it solidified in the pipes overnight. The plumber bill was $150. Pour the hot grease into an empty aluminum can, let it solidify on the counter, and throw it in the trash.
6. Utilize Silicone Muffin Tins for Egg Bites

Eggs are a fantastic, cheap protein source, offering 6 grams of protein each. But freezing scrambled eggs in a large container results in a weeping, spongy mess when you microwave them. The solution is making blended egg bites. I blend ten whole eggs with one cup of Good Culture whole milk cottage cheese ($4.99 at Whole Foods). The cottage cheese adds 14 grams of protein per half cup and provides the fat necessary to protect the eggs’ texture during the freezing process.
I pour this mixture into a GoodCook silicone muffin pan ($12.99 at Walmart) and bake them at 350 degrees for twenty minutes. The squishy texture of the silicone pan is crucial here. I tried making these in a traditional metal muffin tin using paper liners. The egg baked directly into the paper fibers. When I tried to peel the liner off, I lost half my meal and was left picking tiny shreds of wet paper out of my breakfast. It was infuriating.
With the silicone pan, you just push on the bottom and the egg bite slides out perfectly smooth. Let them cool completely on a wire rack before freezing. If you put warm egg bites into a freezer bag, the steam creates condensation. That condensation turns into ice crystals, which melt when reheated and make your eggs soggy. Once they’re completely cold, I put two egg bites into a small Stasher bag. It’s an instant 20-gram protein breakfast that takes sixty seconds to heat up.

Bento Box Adult Lunch Box – 4 Pack, 5
Bento Box Adult Lunch Box – 4 Pack punches above its price — 24 buyers rated it 4.5 stars. I would buy it again.
7. Shred Chicken in a Stand Mixer for Fast Portions

Shredded chicken absorbs sauces better than cubed chicken, making it ideal for freezing in different marinades. But shredding hot chicken by hand is a miserable task. I used to use two forks to pull apart four pounds of boiled chicken breasts. My hands and forearms cramped so badly I couldn’t type properly at work the next day.
Now, I use my KitchenAid stand mixer ($379.99 at Target). I drop four hot, freshly cooked chicken breasts directly into the metal mixing bowl, attach the flat paddle attachment, and turn it on speed two. The machine tears the meat into perfect, uniform shreds in exactly thirty seconds. The noise is a bit loud as the paddle hits the sides of the metal bowl, but the time saved is undeniable. I add half a cup of Pacific Foods low-sodium chicken broth ($3.99 at Sprouts) directly into the mixing bowl while it’s running. The shredded meat acts like a sponge and absorbs the liquid, which prevents it from drying out in the freezer.
Once shredded, I weigh out 4-ounce portions onto squares of parchment paper, fold them into tight packets, and stack them in a large freezer bag. Skip the fat-free chicken breast if you’re freezing it without sauce. It tastes like wet cardboard when reheated. Always use a splash of broth or opt for chicken thighs, which have slightly more fat and survive the freezing process much better.
12. Label Everything with Painter’s Tape

The final step of high protein freezer meal prep is the one most people skip, which inevitably leads to food waste. You must label every single container. Do not trust your memory. When food freezes solid, it changes color and shape. A block of frozen turkey chili looks exactly like a block of frozen beef stew.
I played freezer roulette for a year before I learned my lesson. I grabbed a red frozen block that I was absolutely certain was my high-protein tomato meat sauce. I heated it up for lunch at work, took a massive bite, and realized it was pureed beets I had made for my infant nephew three months prior. I gagged into a napkin. No exaggeration.
Now, I use a roll of Scotch Blue Painter’s Tape ($4.98 at Home Depot) and a black Sharpie ($1.99 at Target). Painter’s tape is vastly superior to masking tape because it peels off glass and silicone cleanly without leaving that sticky, gray residue behind. On every piece of tape, I write three specific things. The exact date I cooked it, the protein content, and a brief description. For example, ‘Oct 12 – Lemon Yogurt Chicken – 35g protein.’ The smell of the Sharpie ink is now permanently associated with my Sunday prep routine. Knowing the exact protein macros written right on the lid prevents me from having to open my fitness app and guess what I logged three weeks ago. It keeps the clean eating process completely mindless during the busy work week.
Mastering high protein freezer meal prep isn’t about spending your entire weekend trapped in the kitchen. It’s about executing a few specific, methodical steps so you aren’t left eating dry chicken or shattered plastic. Once I stopped eyeballing my portions and actually invested in the OXO scale and some decent Pyrex, my grocery budget stabilized and my macros fell into place. I’m telling you, skip the cheap plastic and don’t skip the blanching step. Your future self will thank you when you’re pulling a perfectly preserved, 30-gram protein meal out of the ice box on a chaotic Thursday night. If you found this breakdown helpful, save this article or pin it to your favorite clean eating Pinterest board so you have the exact temperatures and measurements handy for your next grocery run.
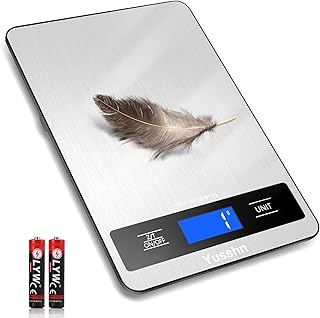
Food Scale, 11lb Kitchen Scale with 0.05oz/1g Precision
If you want something that just works, Food Scale is a safe bet (15 reviews, 4.5 stars).
Frequently Asked Questions
How long do high protein freezer meals last?
If you use a vacuum sealer, frozen cooked proteins like chicken and beef last up to six months without losing texture. If you’re using standard glass containers or silicone trays, you should consume the meals within three months to avoid ice crystals.
Can I freeze cooked eggs for high protein breakfasts?
Yes, but you can’t freeze them plain or they turn rubbery. Mix eggs with full-fat cottage cheese before baking them in silicone molds. The fat content protects the protein structure during the freezing and reheating process.
Do I weigh my protein raw or cooked for meal prep?
I weigh my protein after cooking. Raw meat loses about twenty-five percent of its weight in water during the cooking process. Weighing cooked portions ensures you’re actually getting the twenty to thirty grams of protein you planned for.
Why does my frozen chicken taste dry when reheated?
You’re likely overcooking it before freezing, or reheating it on too high of a setting. Cook your chicken to exactly 165 degrees Fahrenheit, freeze it in an airtight container with a splash of broth, and reheat it on fifty percent power.
