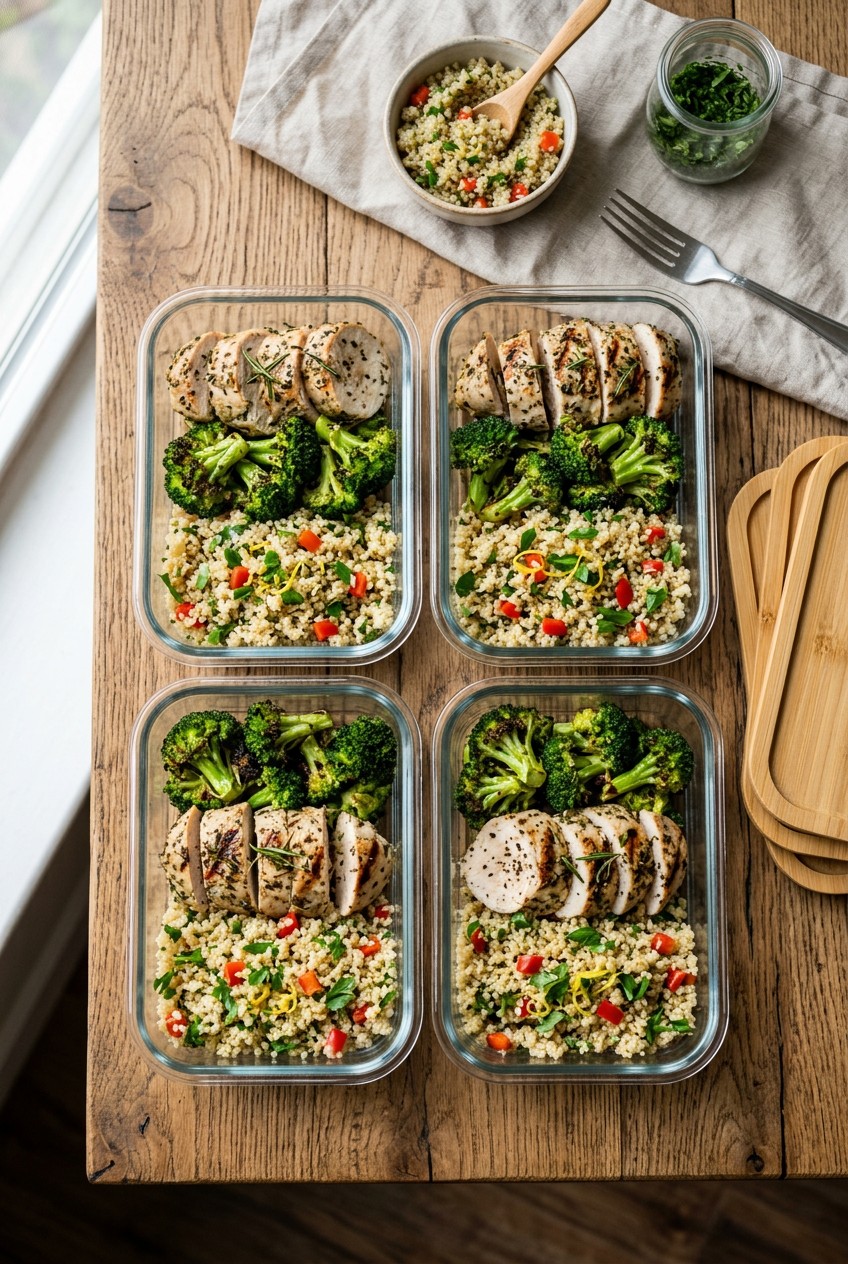
What’s Inside
- Optimize Your Healthy Chicken Meal Prep Sourcing
- Master Air Fryer Cooking for Efficiency
- Try Sous Vide for Foolproof Tenderness
- Pre-Marinate and Freeze for Future Meals
- Stop Dicing Raw Chicken (And Other Prep Mistakes)
- Use Yogurt for Extra Juicy Chicken
- Shred Chicken with a Hand Mixer
- Rely on One-Pot and Sheet Pan Meals
- Invest in Quality Containers and Storage
- My Final Thoughts on Weekly Prep
Last Tuesday at Whole Foods, I stood in the meat aisle staring at a $14 pack of dry, sad-looking chicken breasts and almost cried. My meal prep used to be a disaster of rubbery, flavorless cubes that tasted like wet cardboard. I’d spend hours on Sunday roasting massive batches, only to end up chewing through chalky meat by Wednesday. It’s frustrating when you’re trying to eat well but your food fights back. I did this wrong for months before I figured it out. You don’t need a culinary degree to fix this. You just need better techniques and a few specific tools. I’m going to walk you through my exact process for keeping lunches juicy, flavorful, and cheap. Let’s fix your Sunday routine right now.
1. Optimize Your Healthy Chicken Meal Prep Sourcing

The biggest mistake starts before you turn on the stove. If you buy cheap, water-injected meat, you won’t get a good result. I learned that the hard way at Kroger last year. I bought a 3 lb bag of frozen chicken breasts for $11.99. When I cooked them, they hissed, sputtered, and shrank to half their size in the pan, leaving behind a pool of weird white liquid. It’s disgusting. Those brands pump meat full of water, salt, and sugar to increase the weight. You’re literally paying for salty water.
Skip the enhanced stuff. As of early 2026, Costco offers Kirkland Signature Boneless, Skinless Chicken Breast at about $2.99 per pound. I grab the 6.5 lb package for $18.99. It’s a steal. If you don’t carry a Costco card, Walmart consistently prices their fresh breasts around $2.57 per pound. I always check the label to ensure there’s no retained water or added solutions. Opt for boneless, skinless breasts or thighs because they’re versatile for portioning. When you start with dense, high-quality protein, your meal prep stands a chance of tasting good by Thursday.
2. Master Air Fryer Cooking for Efficiency

I used to bake my chicken for 45 minutes until it resembled shoe leather. Then I bought a Ninja 4-Quart Air Fryer for $89.99 at Target, and it changed my life. The air fryer circulates intense, dry heat that creates a gorgeous golden crust while sealing the juices inside. It’s fast. I preheat my machine to 375°F and cook large breasts for 15 to 17 minutes. If they’re smaller, I drop the heat to 360°F and do 9 to 10 minutes per side, flipping them halfway through with silicone tongs.
Here’s a pro tip for 2026. Most people cook their meat until the internal temperature hits 165°F inside the basket. Don’t do that. The residual heat keeps cooking the meat after you take it out. I remove my chicken at 163°F and let it rest on a wooden cutting board for 5 to 10 minutes. This carryover cooking brings it up to the safe 165°F mark without drying out the edges. The smell of garlic powder and paprika roasting is intoxicating, and the texture is perfectly tender every single time.
3. Try Sous Vide for Foolproof Tenderness

If you’re terrified of undercooking meat but hate dry lunches, sous vide is your new best friend. I swear by my Anova Culinary Precision Cooker. I bought it on Amazon for $129.00, and it paid for itself in a month. Sous vide involves vacuum-sealing your seasoned meat in a bag and dropping it into a temperature-controlled water bath. It’s nearly impossible to overcook.
I set my water bath to 160°F and drop the bags in for up to 2 hours. Because the water never exceeds 160°F, the meat can’t get hotter than that. It locks in every drop of moisture and preserves the nutrients. When you pull it out, it looks a little pale, so I give it a rapid 60-second sear in a screaming hot cast-iron skillet with 1 tablespoon of avocado oil. The crust gets crispy, but the inside remains so tender you can cut it with a butter knife. It’s perfect for hands-off batch cooking on a lazy Sunday. You might also like: 20 Beautiful High Protein Meal Prep Ideas That Are Totally Worth It

8 Pack 36oz Large Glass Meal Prep Containers with lids
If you want something that just works, 8 Pack 36oz Large Glass Meal Prep Containers with lids is a safe bet (866 reviews, 4.5 stars).
4. Pre-Marinate and Freeze for Future Meals

Marinating is crucial for preventing dry, bland meals. Most people just sprinkle salt and pepper right before cooking and wonder why they hate their food. You need a liquid marinade to penetrate the muscle fibers. I marinate my batches for at least 30 minutes, though 2 to 12 hours in the fridge is ideal. My current obsession is a Mediterranean Greek blend. I whisk 2 tablespoons of olive oil, the zest and juice of one lemon, 3 cloves of minced garlic, 1 teaspoon of dried oregano, 1/2 teaspoon of paprika, and fresh parsley. You might also like: 20 Lovely Work Lunch Ideas to Inspire Your Next Project
Here’s the real secret. I freeze my raw chicken directly in its marinade. I place 1 pound of meat into a heavy-duty freezer bag, pour the liquid over it, squeeze out the air, and seal it tight. I’ve kept these in the freezer for 3 months. When I need a quick dinner, I move a bag to the fridge the night before. As it thaws, the meat absorbs all those incredible flavors. It saves me so much time during the week. You might also like: 20 Cozy High Protein Lunch Ideas for Any Style
5. Stop Dicing Raw Chicken (And Other Prep Mistakes)

I need to confess something gross. I used to wash my raw poultry in the sink. I thought I was cleaning it, but I was splashing microscopic Salmonella water all over my kitchen. It’s a massive safety hazard. Never wash your raw meat. Just pat it dry with a paper towel before seasoning. The heat of the oven or pan kills the bacteria.
Another mistake I made for years was dicing my raw chicken into tiny cubes. I thought it would cook faster. It does, but it also evaporates all the internal moisture in three minutes, leaving you with hard, chewy pebbles. Always cook your breasts or thighs whole. Let them rest, and only then should you dice or shred them. Finally, avoid the cold chicken mistake. Never throw a fridge-cold piece of meat onto a hot pan. It shocks the muscle fibers and makes them rubbery. I let my thawed meat sit on the counter for 15 to 30 minutes to take the chill off before cooking.
6. Use Yogurt for Extra Juicy Chicken

If you aren’t using plain Greek yogurt in your marinades, you’re missing out on the juiciest meat of your life. Skip the fat-free stuff. It tastes like wet cardboard. I buy Fage Total 2% Greek Yogurt. A 32 oz tub costs about $6.49 at Sprouts. The lactic acid in the yogurt gently breaks down the protein, tenderizing the meat far better than harsh citrus ever could.
I follow a brilliant recipe I found online. I take 2 lbs of boneless, skinless thighs and coat them in a mixture of 1/2 cup Greek yogurt, 2 tablespoons of lemon juice, 1 tablespoon of olive oil, minced garlic, cumin, and smoked paprika. The yogurt creates an incredible, tangy crust when it roasts. I bake it on a foil-lined sheet at 425°F for 30 to 40 minutes. The smell of the roasting garlic and caramelized yogurt is heavenly. When you bite into it, the meat melts in your mouth. It’s a completely different experience than oil-based marinades.

M MCIRCO 10-Pack,30 Oz Glass Meal Prep Containers 2
M MCIRCO 10-Pack has been one of the most consistently praised picks in this category. 23 reviewers averaged 4.5/5.
7. Shred Chicken with a Hand Mixer

Shredding hot meat with two forks is tedious, messy, and makes my wrists ache. I used to dread this part of my Sunday routine. Then I discovered the hand mixer hack, and I won’t go back. Once my chicken is cooked and slightly cooled, I toss the whole breasts into a massive stainless steel bowl. I grab my KitchenAid 5-Speed Hand Mixer, which I bought for $44.99 at Target, and turn it on the lowest speed.
I press the beaters into the meat. In about fifteen seconds, the beaters tear through the warm muscle fibers, leaving perfectly shredded, fluffy meat. The steam rises, carrying the scent of my spices, and the texture is exactly like what you’d get at a fancy restaurant. It’s fast. Use a very deep bowl, or you’ll send pieces of meat flying across your kitchen. I learned that lesson the hard way when a chunk of spicy shredded thigh hit my cat in the head.
8. Rely on One-Pot and Sheet Pan Meals

I hate doing dishes. If a recipe requires three pans, a blender, and a food processor, I won’t make it. That’s why one-pot and sheet pan meals dominate my kitchen. They simplify the process and cut cleanup to five minutes. My favorite is a Maple Dijon Sheet Pan meal. I line a large baking sheet with parchment paper. On one side, I place my marinated chicken. On the other, I dump a 12 oz bag of Trader Joe’s Organic Broccoli Florets, which costs exactly $3.49.
I toss the broccoli with 1 tablespoon of olive oil, salt, and pepper. I roast the pan at 400°F for 25 minutes. The edges of the broccoli get crispy and caramelized, while the maple dijon glaze on the meat bubbles. You get your protein and your green sides done simultaneously. I also love doing a chicken and rice one-pot skillet that packs 37g of protein per serving and finishes in 35 minutes. It’s cheap, fast, and requires washing exactly one pan.
9. Invest in Quality Containers and Storage

You can cook the best food in the world, but if you store it in flimsy plastic, it’s going to taste terrible by Wednesday. I used to save those thin takeout containers to save money. Last year, I microwaved one at work, and the bottom melted into my lunch. I ate a protein bar from the vending machine instead. Stop using garbage containers.
I recommend upgrading to glass. I bought the Glasslock 18-Piece Set for $39.99 on Amazon, and they are incredible. They are microwave, oven, and dishwasher safe, with heavy-duty seals that never leak. If you prefer plastic because it’s lighter for commuting, the Rubbermaid Brilliance 10-piece set runs about $28.99. They are stain-resistant and leak-proof. Food safety is critical here. After cooking, cool your food rapidly to prevent bacterial growth. Don’t leave cooked meat sitting at room temperature for more than two hours. I divide my batches into glass containers immediately. The shallow depth helps the heat escape faster. Once the steam stops, I snap the lids on and stack them in the fridge at or below 40°F.
10. My Final Thoughts on Weekly Prep
Cooked poultry safely lasts in the refrigerator for 3 to 4 days. If I prep on Sunday, I know my Thursday and Friday portions need to go into the freezer. I can freeze cooked pieces for up to 4 months without losing quality, as long as they’re in airtight containers to prevent freezer burn. Grab a sharpie and some masking tape to label your containers with the date. You won’t remember when you cooked it, trust me.
I religiously use a digital meat thermometer for every batch. Insert the probe into the thickest part of the meat to ensure it hits that magic 165°F mark. It’s the only way to guarantee safety without sacrificing moisture. I’ve transformed my Sunday routine by relying on these methods. My grocery bills dropped, my lunches taste incredible, and I’m never stressed about what to eat at noon. If you found these tips helpful, please pin this article to your favorite Pinterest board so you can find it next Sunday. Let’s make dry, boring lunches a thing of the past.

Vtopmart 5Pack 22oz Glass Storage Containers with Lids
Vtopmart 5Pack 22oz Glass Storage Containers with Lids punches above its price — 32 buyers rated it 4.5 stars. I would buy it again.
Frequently Asked Questions
How long does cooked chicken last in the fridge?
Cooked chicken safely lasts 3 to 4 days in the refrigerator when stored in airtight glass or plastic containers. Always cool it rapidly before storing to prevent bacterial growth.
Should I wash raw chicken before cooking?
No, you should never wash raw chicken. Washing it splashes harmful bacteria like Salmonella across your sink and countertops. Simply pat the meat dry with paper towels before seasoning.
How can I prevent my chicken from drying out?
Use a digital meat thermometer to ensure you remove the meat right before it hits 165°F, allowing carryover cooking to finish the job. Also, avoid dicing raw chicken before cooking.
Can I freeze chicken directly in a marinade?
Yes, freezing raw chicken in a marinade is a highly effective prep method. Seal one pound of meat with the marinade in a freezer bag for up to three months.
